There is User Options and Notifications part on the main screen (please see the note on Class4V5 First Steps page). Depend on the account, user will see many options. On this session, i will use the admin account to see full menu.
Upload session
Click the ![]() icon on the User Options and Notifications part, you will see all the upload session is in progress.
icon on the User Options and Notifications part, you will see all the upload session is in progress.
Alert
After login the system, user will see the total alert for themself. By click on the  , the user will be redirected to the Dashboard page and see all the alear.
Screenshot: Alert
On this page:
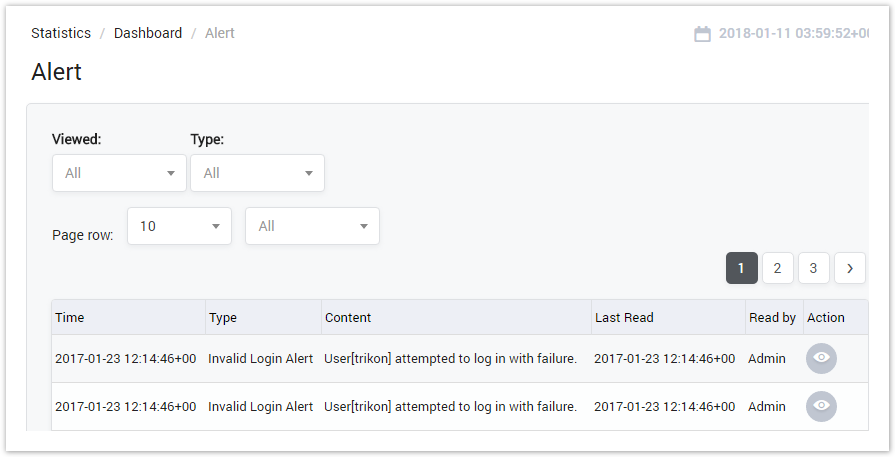
This part allows the user query data by two parameters: Viewed and Type.
- Viewed: Query by status of Viewed. Yes or No. Yes: This alert has been viewed already. No: This alert hasn't been viewed yet.
- Type: Query by type of the alert.
| Column Name | Description |
|---|---|
| Time | The date time when alert sent to the user. |
| Type | The type of the alert. |
| Content | The content of the alert. |
| Last Read | The last date time when the alert was read. |
| Read By | The last person who read the alert. |
| Action | Click on
|

Tickets
If there is any issue in system, the user will go to this section to open ticket and assign to the specific department. The related dapartment will receive the notification and resolve it.
Click on Admin → Tickets → The main window will appear as below:
Screenshot: Tickets
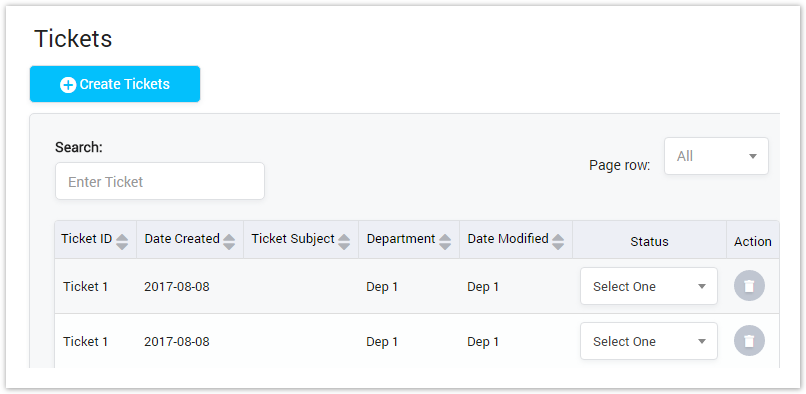
The user can search ticket by inputting the ticket ID into the search textbox.
After adding new ticket, the status should be Open. After fixing it, the fix team will change the status to the Resolved. After changing, the date modified will be changed accordingly.
Adding new Ticket
To add new ticket, click on the Create Tickets button, the main window will display as below:
Screenshot: Adding new Ticket
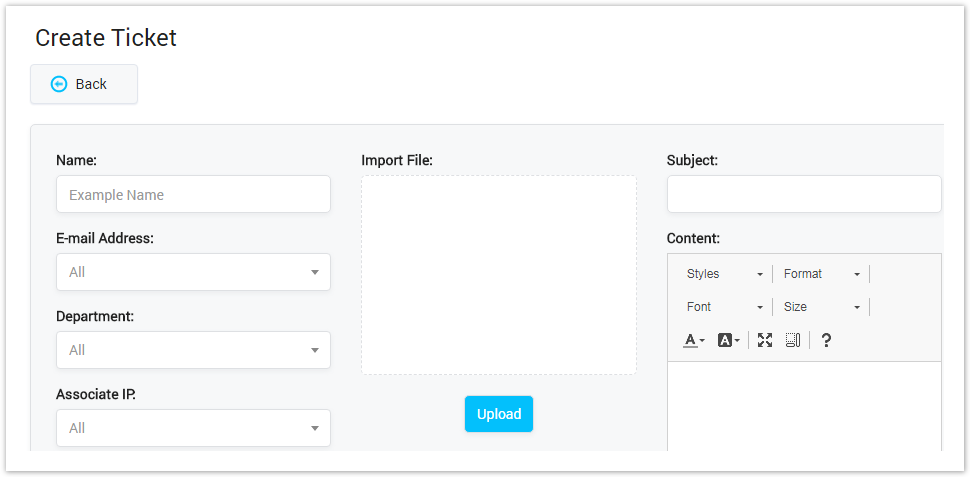
| Field Name | Description |
|---|---|
| Name | Name of Ticket |
| Email Address | Email of the person who open the ticket. |
| Department | The department will fix this issue. |
| The IP related to the issue. | |
| Import File | Import file to help the fix team to detect and resolve the issue such asL Log file ... |
| Subject | Subject of the email send to the department. |
| Content | Content of the email send to the department. |
Change Password
This menu is used to change the password of the user. Click on this menu, there is a pop-up as below:
Screenshot: Change Password
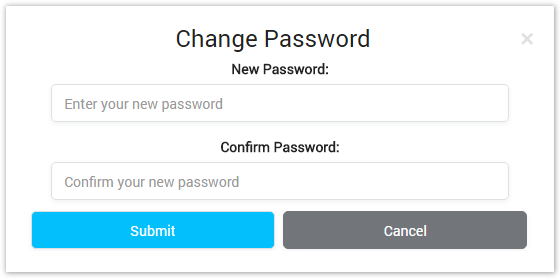
Inputting the New Password and Confirm Password then click on the Submit button to change or Cancel button to cancel.
Get Support
If there is any issue, the user will use this option to send email to the Support Team and this team will resolve the issue.
Click on this menu, there is a pop-up as below:
Screenshot: Get Support
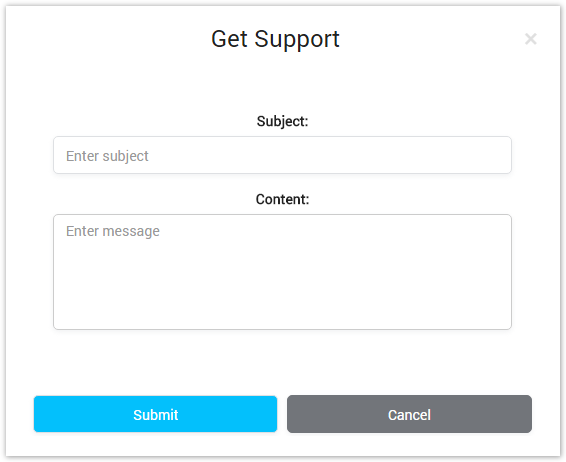
Enter the subject of your inquiry and a description. Click the Submit button to submit the inquiry or the Cancel button to cancel the inquiry.
Help
From any page, click on the user option. The following drop-down list will be displayed. Click on the Help option.
The Home Page of the document will be displayed.On this page, you can find anything you want such as the guide, how to setup ...
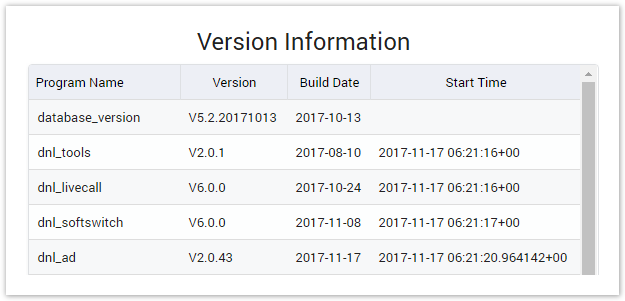
About
This menu is used to show all versions of switch as below:
Screenshot: About
| Column Name | Description |
|---|---|
| Program Name | Name of the program. |
| Version | Version of the program. |
| Build Date | The date time when the program was built. |
| Start Time | The date time when the program went alive. |
My Profile
This menu is used to view the profile of user with some information such as birthday, avata, address ...
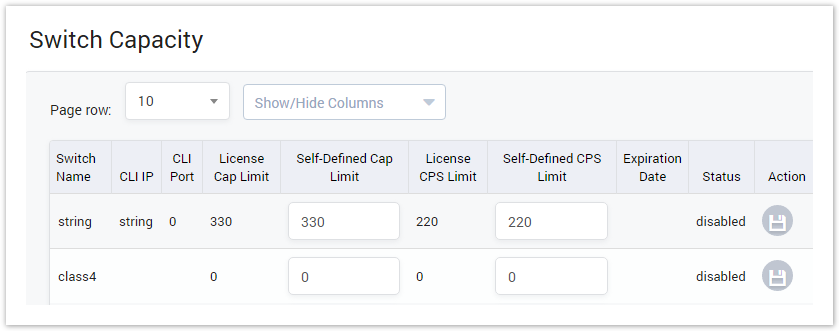
Capacity
This menu is used to show the capacity of the switch and allows the user to modify it.
Screenshot: Capacity
| Column Name | |
|---|---|
| Switch Name | Name of switch. |
| CLI IP | IP of Command Line Interface. |
| CLI Port | The Port to access to the Command Line Interface. |
| License Cap Limit | License for the Cap Limit. |
| Self-Defined Cap Limit | The Cap Limit is defined by the user. |
| License CPS Limit | License for the Call Per Second Limit. |
| Self-Defined CPS Limit | The Call Per Second Limit is defined by the user. |
| Expiration Date | The expiration Date of license. |
| Status | The status of the switch. |
| Action | After edit, click on this icon to save. |
VoIP Gateway
This part is is used to show VoIP Gateway information
Related pages
Popular Topics
Recently Updated Pages