| Field Name | Description |
|---|---|
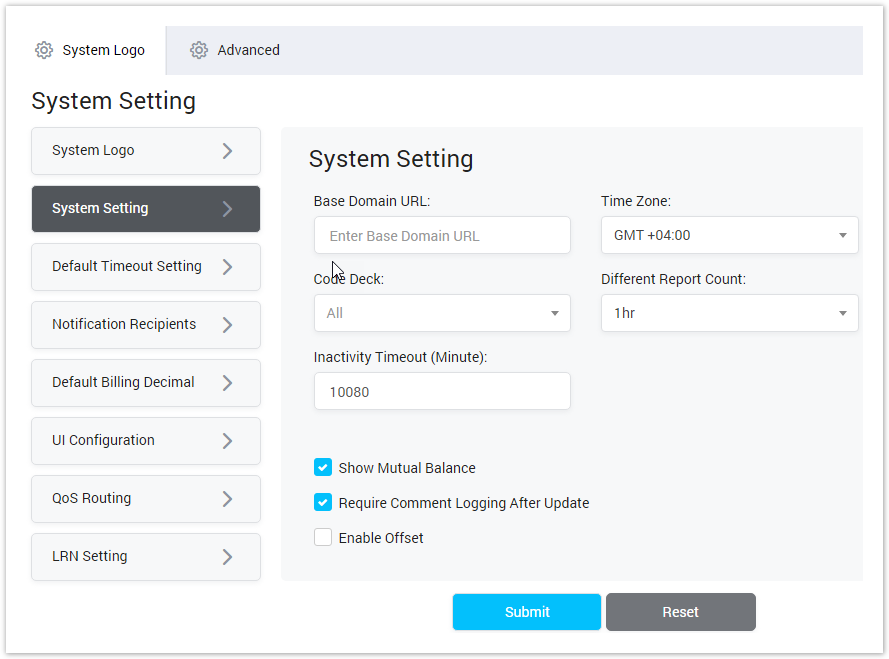
| System Logo | This part is used to set the Logo and Favicon for the System.
|
| System Setting |
|
| Default Timeout Setting | This part is used to set timeout for the System.
|
| Notification Recipients | This part is used to select the person who will be received Notification Email.
|
| Default Billing Decimal | Default Billing Decimal: Set the total of Decimals for the amount in Billing. |
| UI Configuration |
|
| QoS Routing |
|
| LRN Setting |
|
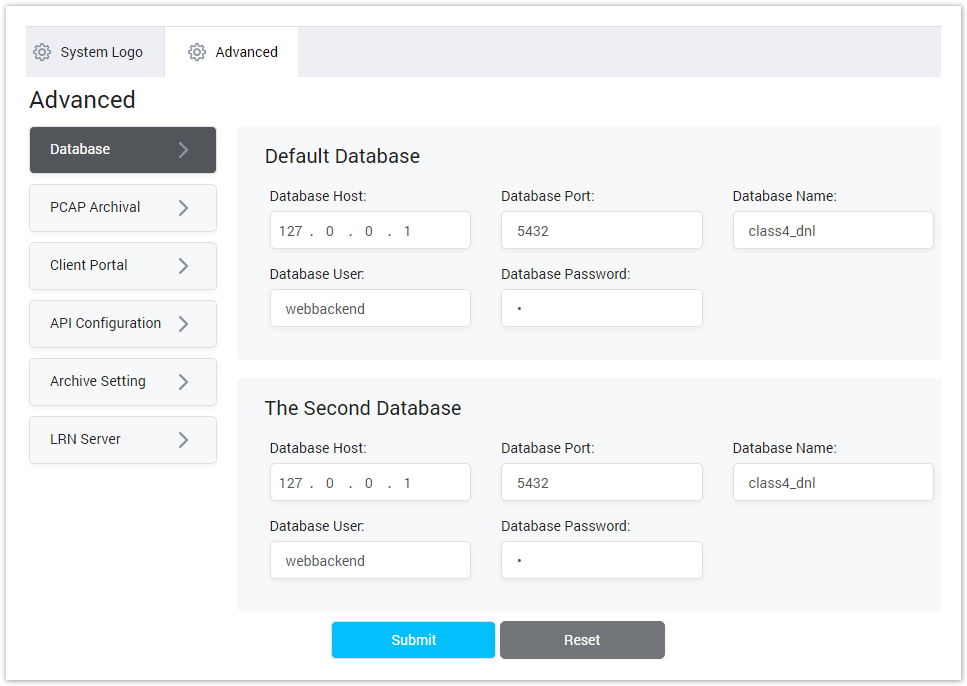
Advance
This part is used to set the advance configuration for the system. You have to have deeply understand about system before touching anything. Click on Configuration → System Setting → Avance → This part will be shown as below:
Screenshot: Advance
| Field Name | Description |
|---|---|
| Database | Default Database: It is the default database of system. For this part, you have to config the parameters to access to the Database.
|
The Second Database: It is the backup database. If there is any issue with the default database, this database will be run and replace the Default one.
| |
| PCAP Archival | This part is used to set the location to store the PCAP message. You have to select the
|
| Client Portal | This part is used to config for the Client Portal.
|
| API Configuration | This part is used to config the Real Time CDR and Reporting |
| Archive Setting | |
| LRN Server |
Related pages
Popular Topics
Recently Updated Pages